The Ultimate Rescue Guide for Water-Damaged Drywall: Save Your Walls!
Expert Tips and Techniques for Effective Drywall Water Damage Repair
Water damage can wreak havoc on your home's drywall, leading to mold growth, structural issues, and unsightly stains. Whether it's from flooding, leaks, or high humidity, addressing water-damaged drywall promptly is crucial to maintaining the integrity and appearance of your home. This comprehensive guide provides you with expert advice on drywall repair, ensuring you can tackle drywall water damage efficiently and effectively. From identifying the extent of the damage to the final touches of paint, we cover every step of the process to help you restore your walls to their former glory.

Identifying the Extent of Water Damage
Before you embark on any repair, it's essential to assess the extent of water damage. Look for signs of moisture, such as discoloration, swelling, or the presence of mold. Using a moisture meter can provide a more accurate assessment, guiding your repair strategy. Remember, timely water damage removal is key to preventing further deterioration.
Choosing the Right Contractor for Water Damage
For extensive damage, hiring a professional drywall contractor is advisable. A skilled contractor for water damage will have the necessary experience and tools to effectively address the issue, ensuring a quality repair. When selecting a drywall services provider, look for those with specific expertise in water damage repair services, including mold and water damage repair.
DIY Drywall Water Damage Repair
For minor issues, DIY drywall repair can be a cost-effective solution. Here's a step-by-step guide:
Step 1: Water Removal and Drying
Begin with thorough water removal. Use fans, dehumidifiers, and open windows to dry out the affected area completely. This step is critical for preventing mold growth from water damage.
Step 2: Removing Damaged Drywall
Carefully cut out and remove the water-damaged sections of drywall. Be sure to wear protective gear to avoid inhaling dust or mold spores.
Step 3: Mold Prevention
Before installing new drywall, treat the area with a mold-preventing solution. This is crucial to avoid mold from water damage, which can pose health risks and compromise your repair efforts.
Step 4: Drywall Installation
Measure and cut new drywall to fit the area you've removed. Secure it in place with drywall screws, and ensure the surface is level with the surrounding wall.
Step 5: Finishing Touches
Apply drywall compound over the seams and screws. Sand the area smooth once the compound has dried. Repeat the process as necessary to achieve a seamless finish.
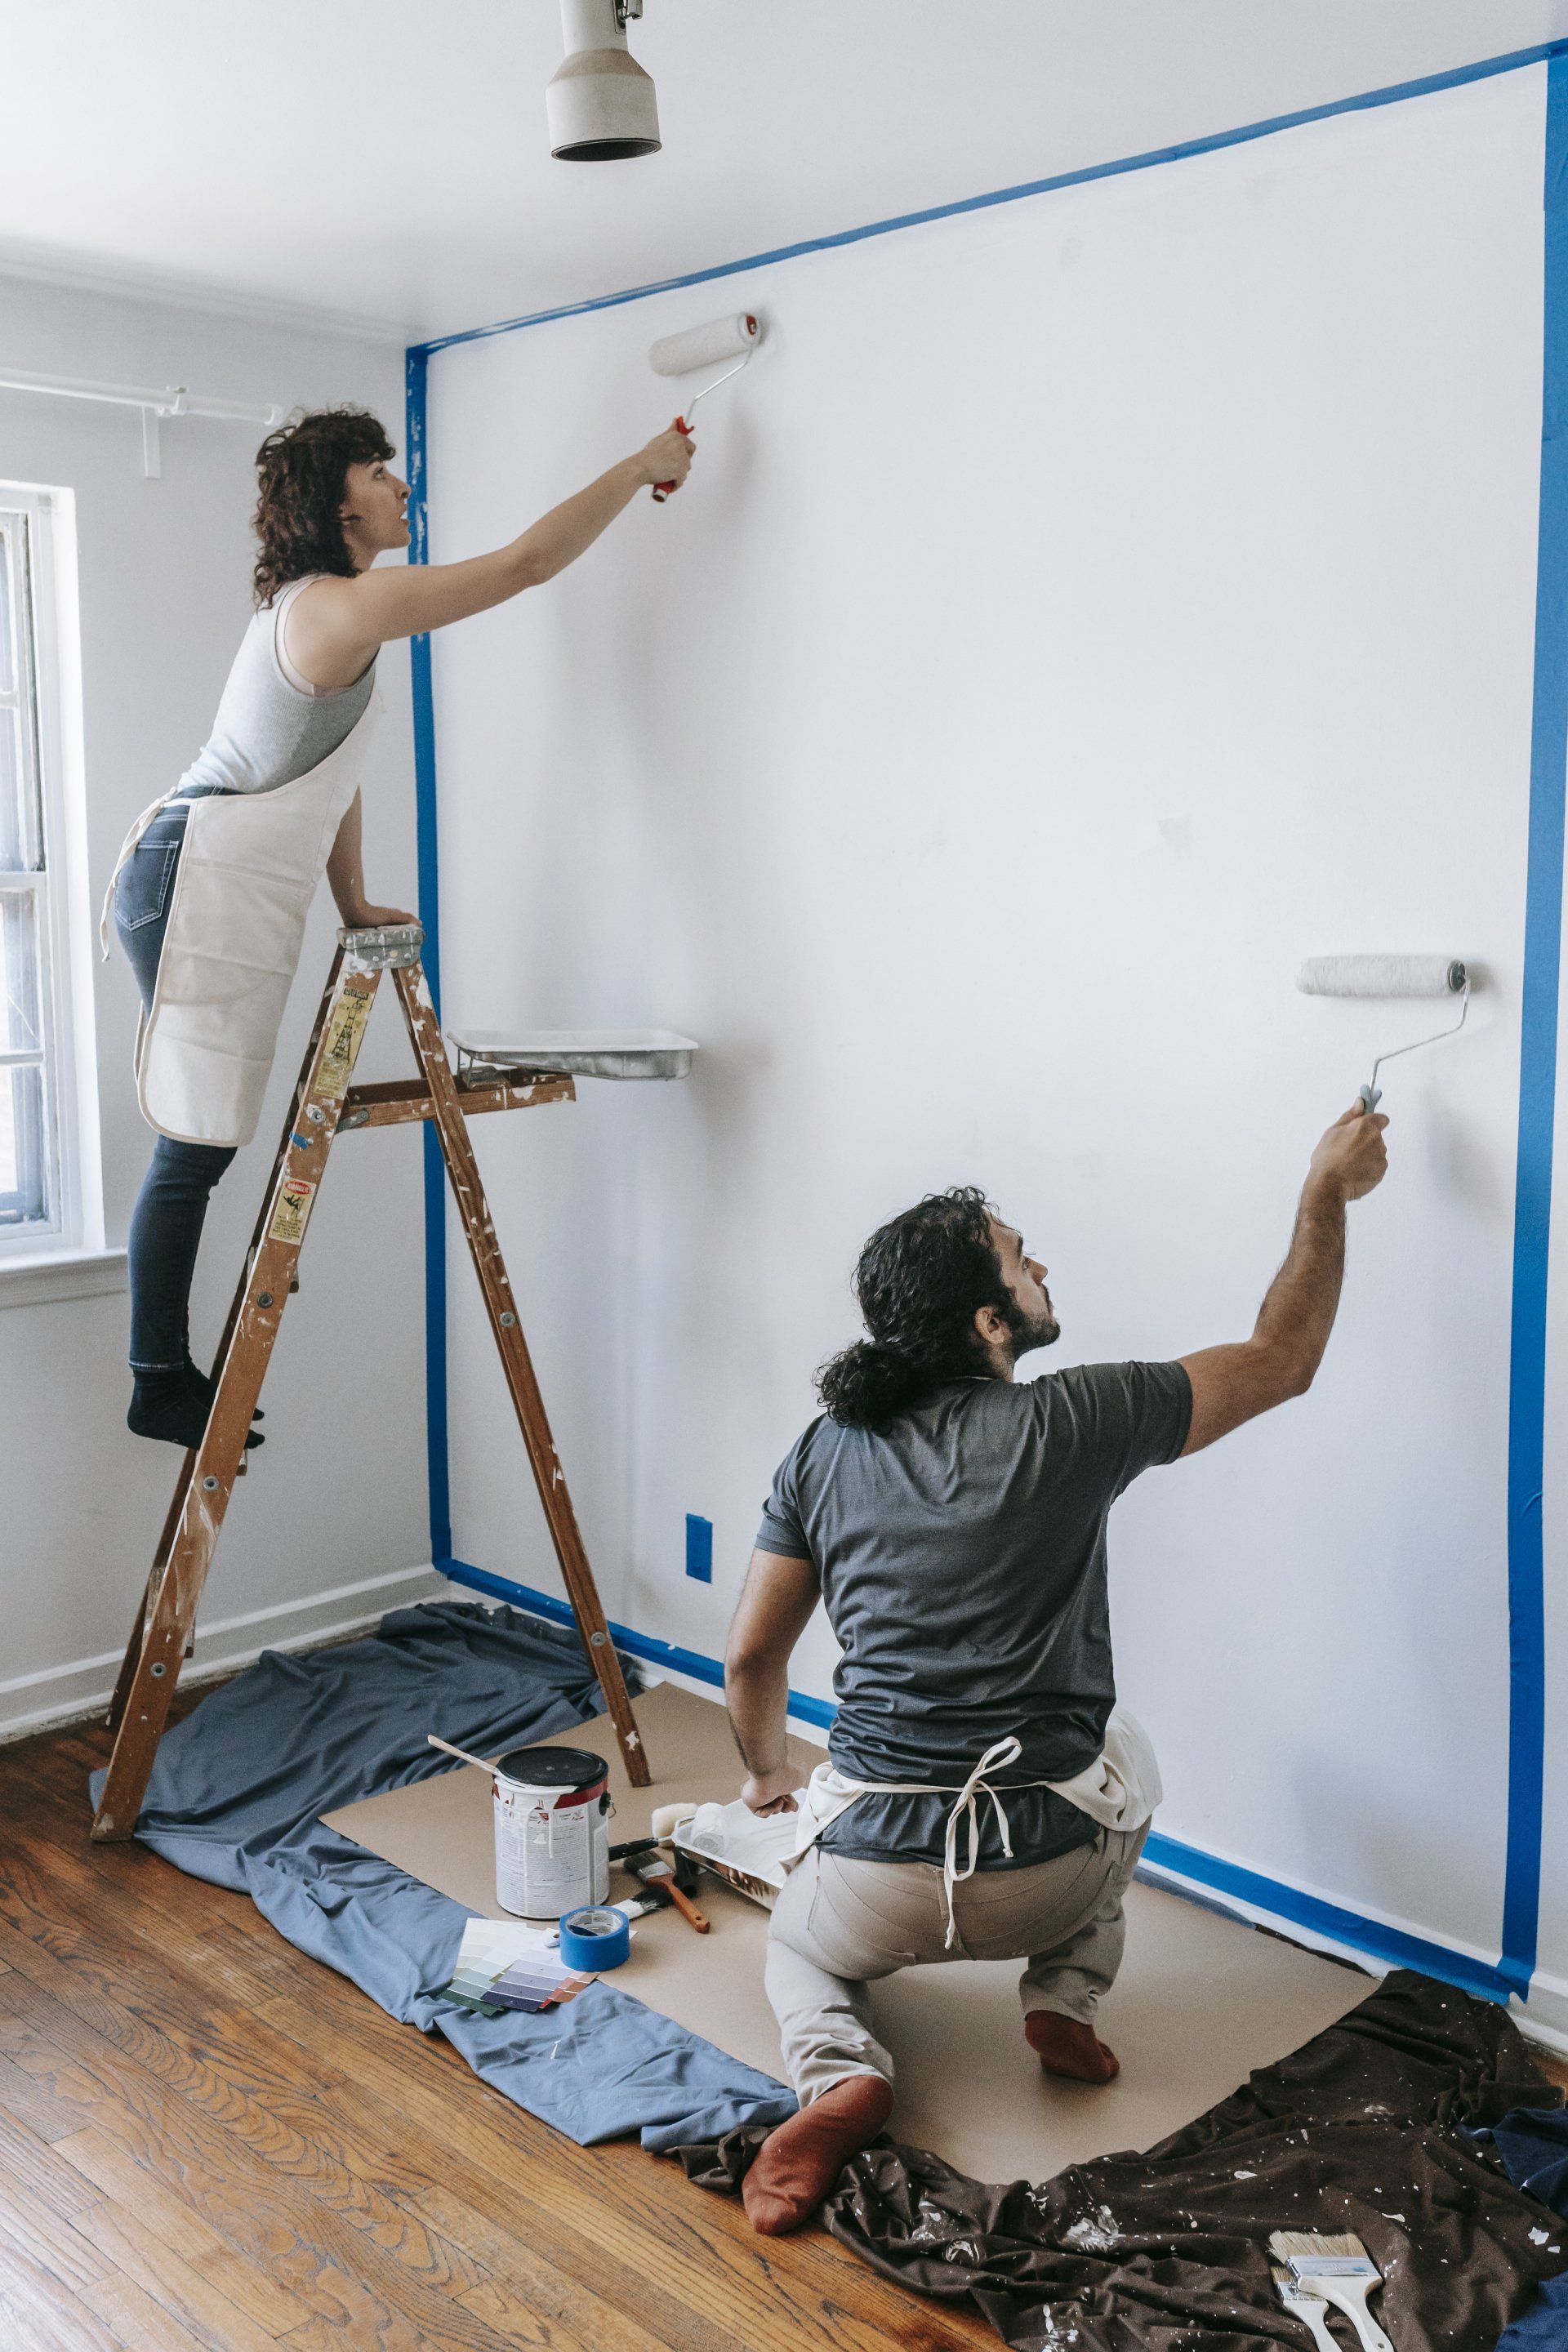
Step 6: Painting and Priming
Prime and paint the repaired area to match the rest of your wall. This final step not only enhances the appearance of your repair but also provides an additional layer of protection against moisture damage.
Preventing Future Water Damage
Preventative measures are essential to avoid recurring issues. Regularly inspect your home for leaks, ensure proper ventilation, and maintain gutters and downspouts to direct water away from your home. Consider waterproof paint or sealants in high-moisture areas.
Advanced Repair Techniques for Stubborn Damage
In some cases, water damage to drywall can be extensive, requiring more than just a simple patch-up. For severe moisture damage repair, it may be necessary to replace entire sections of drywall. Here, precision in cutting, fitting, and securing new drywall panels is paramount. Employing advanced techniques, such as using a vapor barrier or moisture-resistant drywall, can offer added protection against future water intrusion.
Utilizing Drywall Services for Complex Repairs
When the damage is beyond the scope of DIY efforts, turning to professional drywall services becomes essential. A drywall contractor with extensive experience in water damage repair can address complex issues, including structural concerns and hidden mold infestations. These experts can also provide water damage repair services that include comprehensive assessments and long-term solutions, ensuring your home remains safe and dry.
The Role of Technology in Water Damage Repair
Modern advancements in technology have introduced new tools and methods for diagnosing and repairing water damage. Thermal imaging cameras, for example, can detect moisture behind walls without the need for invasive probing. This technology enables contractors to repair water damage with greater accuracy, ensuring no affected area goes untreated.
Mold Remediation in Water-Damaged Drywall
Mold from water damage poses a significant risk to both your home's structural integrity and your health. Addressing mold involves more than just surface treatment; it requires eliminating the source of moisture and replacing any mold-infested materials. Professional mold and water damage repair services are equipped to handle these challenges, using specialized equipment and techniques to ensure a safe environment.
Preventing Mold Before It Starts
Preventative measures are key in avoiding mold growth in water-damaged drywall. After any water incident, swift drying and dehumidification are crucial. Consider applying mold-resistant primers and paints after repairs, and ensure your home has adequate ventilation to keep humidity levels in check.
Regular Maintenance and Inspection
Regular home maintenance and inspection are vital in preventing water damage and its costly consequences. Check your home for signs of leaks, condensation, or any other moisture issues regularly. Pay special attention to bathrooms, kitchens, basements, and attics where water damage is more likely to occur. Regular maintenance by a drywall contractor can help identify potential problems before they escalate.
Conclusion: The Path to Recovery
Repairing water-damaged drywall can be a challenging but manageable task with the right knowledge and tools. Whether you're tackling minor repairs or facing extensive damage, understanding the proper techniques and when to call in professionals is key. By following the comprehensive steps outlined in this guide and employing preventative measures, you can ensure your home remains beautiful, safe, and dry for years to come.


