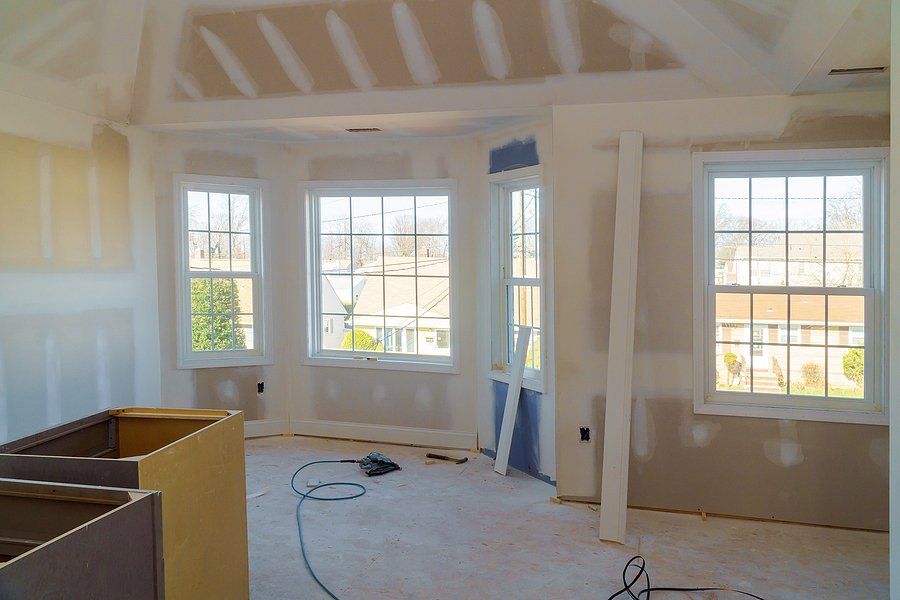
Drowning in Damage? Your Lifeline for Drywall Repair
A Comprehensive Guide to Restoring Your Home: Navigating Drywall Water Damage Like a Pro
In the aftermath of a flood or leak, homeowners often find themselves battling not just with the immediate influx of water but with its lingering companion—drywall water damage. This guide serves as a beacon of hope, offering detailed insights into repairing water-damaged drywall and restoring the sanctity of your home. Whether you're facing minor dampness or significant water intrusion, understanding the nuances of drywall water damage repair is crucial for a swift and effective recovery.

Understanding Drywall Water Damage
Drywall, also known as sheetrock, is a prevalent material used in interior walls and ceilings. While it offers a smooth finish and easy installation, its porous nature makes it particularly susceptible to water damage. When drywall absorbs water, it can swell, disintegrate, and foster mold growth, compromising structural integrity and indoor air quality.
Signs of Water Damage in Drywall
Identifying water damage early can save you time and money. Look out for:
- Soft or disintegrating patches on walls or ceilings
- Discoloration or stains
- Mold or mildew presence
- A musty smell indicating hidden moisture
The Step-by-Step Guide to Drywall Water Damage Repair
Step 1: Assess the Damage
Before diving into repairs, assess the extent of the water damage. Minor damage might require simple drying and repainting, while significant water intrusion repair might necessitate replacing entire sections of drywall.
Step 2: Stop the Source of Water
To prevent further damage, identify and rectify the source of water intrusion. This might involve fixing leaking pipes, sealing cracks, or improving drainage around the home.
Step 3: Water Removal Services
Once the source is addressed, remove any standing water from the area. Water removal services can be invaluable, especially in cases of severe flooding, offering rapid water extraction services to mitigate damage.
Step 4: Dry Out the Affected Area
Proper drying is critical to prevent mold and further damage. Use fans, dehumidifiers, and open windows to circulate air and reduce moisture. This step might take several days, depending on the extent of the water damage.
Step 5: Remove Damaged Drywall
Carefully cut out and remove water-damaged sections of drywall. It's important to remove a slightly larger area than the visibly damaged portion to ensure all moisture-damaged material is eliminated.
Step 6: Clean and Disinfect
After removal, clean the exposed studs and interior spaces with a mildewcide or a solution of bleach and water to kill any lingering mold spores, preparing the area for water damage clean up and repair.
Step 7: Drywall Repair After Water Damage
Install new drywall panels to replace the ones you removed. This involves measuring, cutting, and securing the new drywall, followed by taping, mudding, and sanding the seams for a smooth finish.
Step 8: Painting and Finishing Touches
Apply a primer suited for water damage and repaint the repaired areas to match the rest of your interior. This not only restores the look of your walls but also adds a layer of protection against future water damage.
Choosing a Water Damage Contractor
For significant water damage, hiring a professional water damage contractor is advisable. Look for certified water damage repair companies with experience in interior water damage repair. They can provide comprehensive services, from water damage removal to sheetrock water damage repair, ensuring your home is safely and effectively restored.
Preventing Future Water Damage
Preventative measures can save you from future headaches:
- Regularly inspect pipes, roofs, and windows for signs of wear and leaks.
- Maintain gutters and downspouts to ensure proper water diversion.
- Consider waterproofing solutions for areas prone to moisture.
Conclusion
Drywall water damage can be a daunting challenge, but with the right approach and resources, it's a battle you can win. By following this guide, you can navigate the complexities of water damage repair, from initial assessment to the final touches. Remember, the key to effective drywall water repair lies in prompt action, thorough drying, and meticulous repair work. Whether you tackle the repairs yourself or enlist the aid of a water damage repair contractor, restoring your home to its former glory is within reach.
You might also like
Book a Service Today
We will get back to you as soon as possible
Please try again later
Fast and Reliable
We are available 24/7 by fax, email or phone
Address
Email
Call
All Rights Reserved | NOLA Drywall Services | 504-666-3389 | Powered by Snapps


